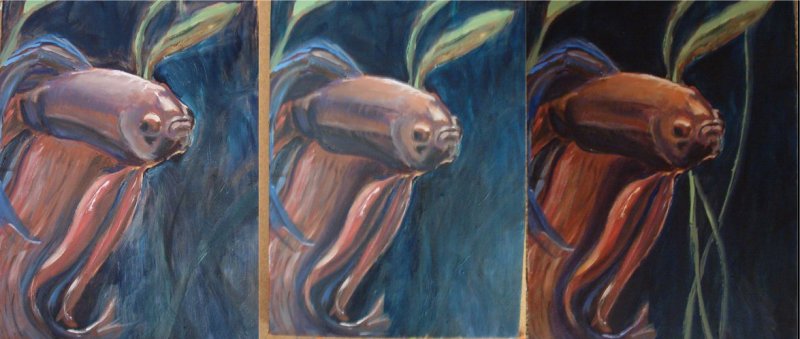
This isn’t so much of a “How-to” as a “How I did it.” An oil painting start-to-finish.
Photo Reference
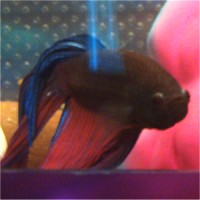
First off, I started with a photo reference. Since Fish was too flippety and small to use as a live model, I had to take a variety of photos and pick which ones to use as reference. Even though it is primarily from photograph, I also did some gesture sketches using the fish as a live model, just to warm up.
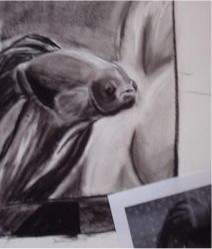
Step 1 – Charcoal SketchAfter a couple of thumbnail sketches to figure out composition, I sat down and did a tonal drawing with charcoal. I made it the same size as the canvas for the painting would be, which was 12 x 16 inches. It isn’t perfect, but it is more than a quick sketch. I did it to have a feeling of the composition and how the tonal values would come out. |
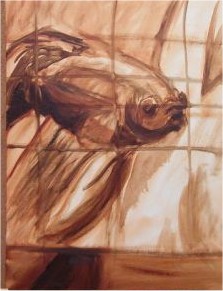
Step 2 – UnderpaintingI started the painting by doing an underpainting with thinned out burnt sienna paint. This is a rough oil sketch in order to work out form, volume, and tone. As you can see, I often include guidelines in my underpaintings. This is the part where you work out the nitty gritty proportions, and throw in guides and measuring lines. That’ll all get painted over eventually, and it helps make a solid basis for the rest of the painting. |
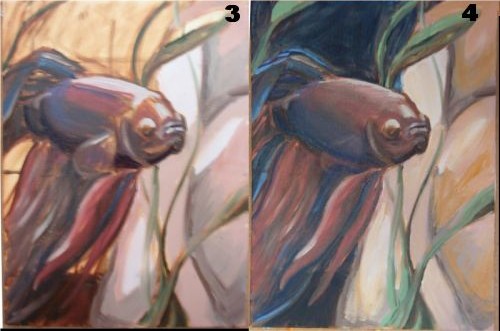
Steps 3 and 4After working out the basic underpainting, I started to add in color references. I made a few decisions here based on critiques and my own intuition. For example, I decided not to include the bottom of the tank as it was shown in the photo, because taken out of context, it was confusing and distracting. I began to paint over his side fin, as I planned to paint that in very last. |
Steps 5 though 7
After some suggestions, I decided that the big coral thingy was not helping the composition, so I took it out. It is important to remember, especially in oil painting, not to be afraid to drastically change something. If you’ve worked forever on one little part of a painting, and perhaps it’s the best face you’ve ever painted, but it doesn’t work with the rest of the painting, sometimes you’ve gotta just hold your breath and paint over it for the greater good of the final product. Anyway, fixed some anatomical quirks and started to add in more color. The image on the far right was where I started to add in glazes. That is, I waited until the paint was dry, then mixed together paint that was heavy on medium and mineral spirits, then painted the transparent glaze over the image. I did this to bring out those blues and reds
Steps 8 and 9
After the glazes, I started working in texture and spots of brighter color, such as the green and bright blues. Many of these looked awkward at first, but in the last step I covered them with more glazes to tame them down. The result was little pockets of bright colors, but not too imposing. The very last step was to paint in the side fin. I did this by using a dry brush to scumble primarily white paint across the body. This gave it that gauzy, transparent look that those fins tend to have.
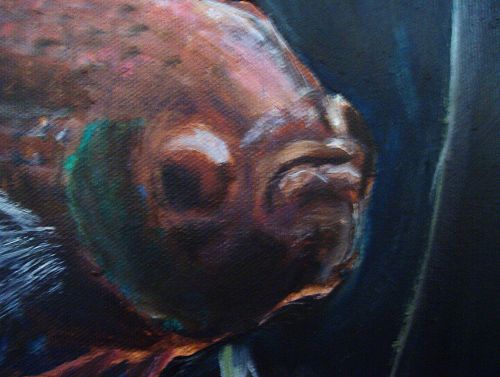
DetailHere is a close-up of the face so that you can see some of the texturing. |
